Physical Address
304 North Cardinal St.
Dorchester Center, MA 02124
Physical Address
304 North Cardinal St.
Dorchester Center, MA 02124
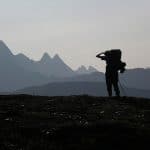
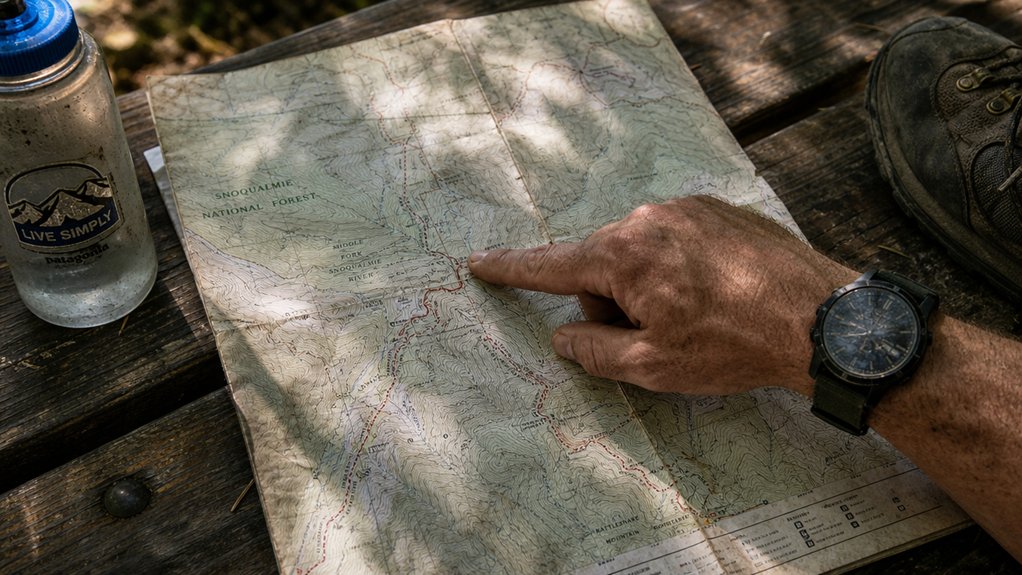
A trail map is not a routing app. It shows you the shape of the terrain, and that information is worth more than a signal bar.
This post contains affiliate links. We may earn a small commission if you purchase through these links, at no extra cost to you.
A trail map is not the same thing as a routing app. It doesn’t update, it doesn’t tell you your estimated arrival time, and it won’t recalculate when you take a wrong turn.
What it does is give you the actual shape of the terrain, which is the one thing you need when the signal drops.
Reading one well takes about an hour to learn. Contour lines, trail markers, difficulty ratings, distance estimates. They all follow a logic that becomes fast and automatic once you’ve used it a few times.
The sections below cover each skill in the order you’ll use it on the trail.
A green circle means easy terrain.
A black diamond means expert-only. On topographic maps, closely spaced contour lines indicate steep slopes, which can help you gauge whether a trail truly matches that difficulty rating.
Most Canadian parks use standardized trail markers to help hikers navigate routes safely and confidently.
Know the difference before you commit. You can always check the map legend to confirm what any unfamiliar symbol represents.
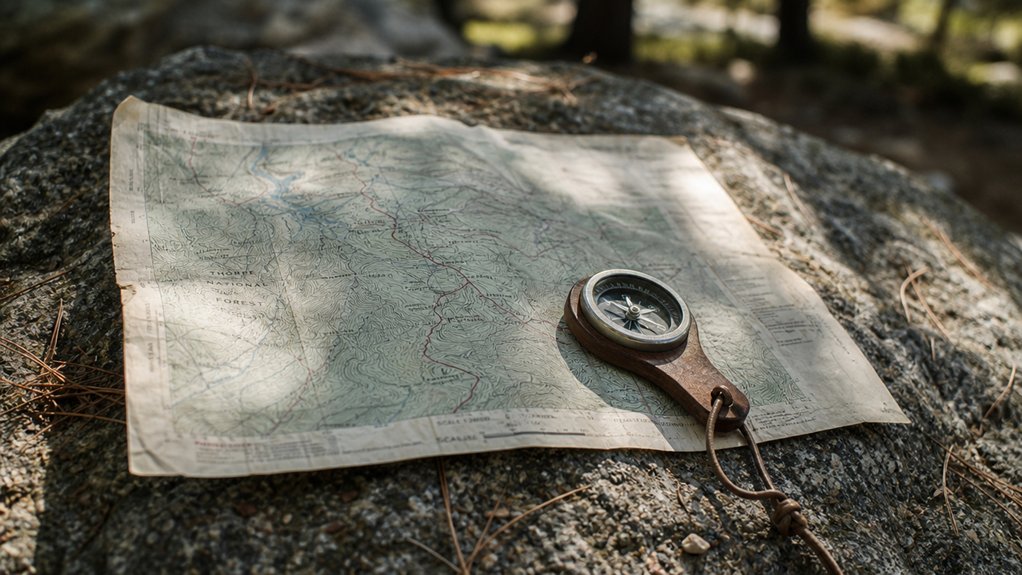
Contour lines, those brown or orange lines running across your topographic map, are the single most useful tool for understanding what the trail will feel like underfoot. Each line connects points at the same elevation above sea level. On NRCan topographic maps, available through maps.canada.ca, the spacing between lines follows a consistent interval: usually 10 metres on detailed local maps, 25 metres on standard trail maps, and 50 metres on regional overview maps.
Many provincial parks and Parks Canada publish their own trail maps, which may use simplified markings or no contour lines at all. For backcountry travel, the NRCan 1:50,000 scale topographic map is the standard. It gives you enough detail to read terrain reliably away from marked trails.
Every contour line tells a story about the ground beneath your feet. Learn to read them before you lace up.
Tight lines mean steep ground. You’ll slow down considerably. Extremely steep areas may even require advanced climbing techniques to navigate safely.
Widely spaced lines? That’s your easy cruising terrain. Before your first visit to a Canadian national park, familiarize yourself with how contour lines appear on maps in your specific region.
Learn to recognize terrain features too: concentric circles mark summits, V-shapes indicate ridges, and U-shapes reveal valleys where water drains.
When reading valleys, remember that water flows downhill toward the point of those V-shaped contours, helping you predict where streams and drainage paths will be.
Once you’ve got a feel for the terrain’s ups and downs, you’ll want to know where you’re actually going on it.
Trail navigation starts with blazes, those painted marks on trees. White blazes mark primary trails, blue ones signal side routes, and yellow tags connector paths. If you spot three blazes forming a triangle with the tip pointing upward, you’re standing at the start of a trail.
In Ontario’s Bruce Trail and Quebec’s long-distance routes, blaze systems follow consistent provincial conventions, but always verify the local marking scheme with the park’s trail guide before your first visit.
On your map, solid lines mean maintained trails; dashed lines mean you’re on your own. Canada features some of the most rewarding hiking trails that showcase diverse terrain and natural beauty across the country.
Triangles flag peaks, circles show water sources, and squares indicate shelters. In areas above the treeline or across rocky terrain, look for cairns, which are stacked rock markers used where painted blazes or other signage isn’t practical.
For waypoint accuracy, match GPS coordinates to named landmarks at junctions.
A baseplate orienteering compass with a built-in declination adjustment is the standard tool for triangulating your position on a NRCan topographic map. If you need to pick one up before your trip, you can compare options on Amazon.
Note elevation data beside each waypoint; it confirms you’re where you think you are, which is exactly where freedom begins.
Count your miles first.
Then check the elevation gain; those tightly packed contour lines mean steep climbing that’ll slow you down fast.
Distance is the foundation. Count your miles before you count on anything else.
Budget about 20 minutes per kilometre on flat ground, then add extra time for uphill sections. On a NRCan 1:50,000 scale topographic map, each contour line represents 25 metres of elevation change. Counting the lines between your start and the high point of your route gives you a reliable estimate of total climb.
Factor In Terrain Type. Rocky or technical terrain type cuts your speed by 20–30%.
Beginners typically cover 2.5–3 km/h (1.5–2 mph); experienced hikers push 5–6 km/h (3–4 mph).
Your map doesn’t lie, your optimism might. If you’re hiking in areas with bear activity, check your route timing to ensure you finish before dark and can navigate safely.
Don’t forget to segment your route by terrain changes so you can reassess your pace and adjust objectives at each boundary rather than relying on a single average for the whole hike.
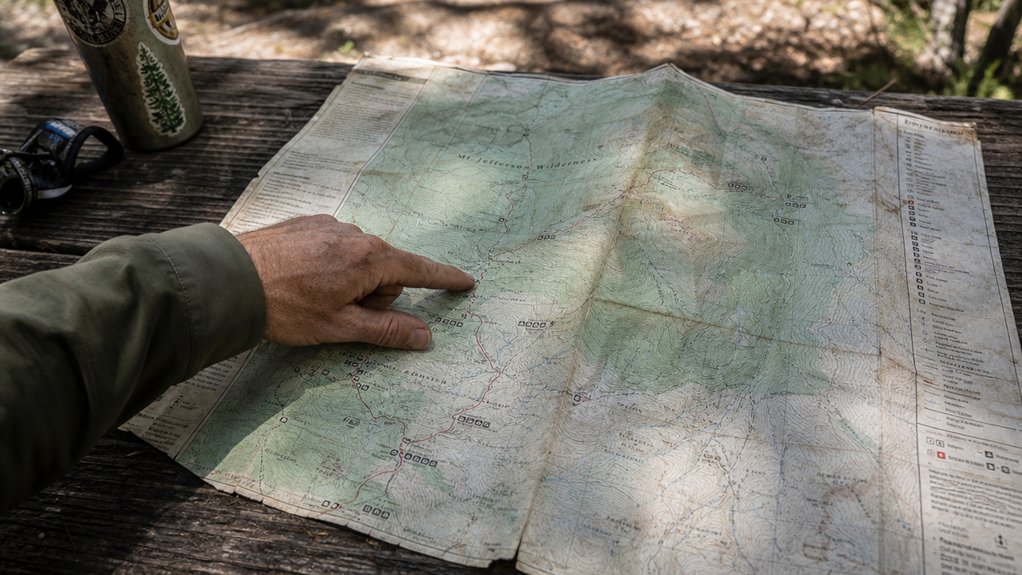
Knowing how long a hike should take is useful, but that math falls apart the moment you realize you don’t know where you are.
Don’t panic, start with landmark identification.
Look for peaks, streams, or trail junctions you can match to map symbols. If you’re unsure whether you’re on an actual trail or a natural feature like a streambed, trust the compass over your instincts.
When hiking with dogs, also note any water sources marked on your map, as these landmarks help with dog-friendly trail navigation.
In Canada’s backcountry, particularly in dense forest regions like Algonquin or British Columbia’s interior, major ridgelines and lake edges are often the most reliable landmarks for re-orienting when trail markers are absent.
Next, try compass alignment.
A waterproof map case keeps your topo sheet legible in rain and doubles as a flat surface for taking field bearings. If you don’t have one yet, there are plenty of options on Amazon.
Point your compass north, rotate your map to match, and take bearings on two or three visible features.
Where those sight lines intersect on your map is roughly where you’re standing. Keep in mind that each degree of bearing error translates to approximately 28 metres (92 feet) off-course per 1.6 km (1 mile), so precision matters.
You’ve got the tools. Now use them to find your freedom again.