Physical Address
304 North Cardinal St.
Dorchester Center, MA 02124
Physical Address
304 North Cardinal St.
Dorchester Center, MA 02124
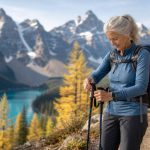
Winter hiking in Canada is not summer hiking with more clothing. The trails are harder, the stakes are higher, and the preparation is different.
Winter hiking in Canada is a different activity than summer hiking with more clothing. The trails are harder, the days are shorter, the consequences of a bad decision compound faster, and the gear list is longer.
It is also genuinely excellent. Parks Canada’s winter trails are less crowded, the light is better, and some routes only fully open once the snowpack settles.
What separates a good trip from a bad one at -15°C is almost always preparation. This is what that preparation looks like.
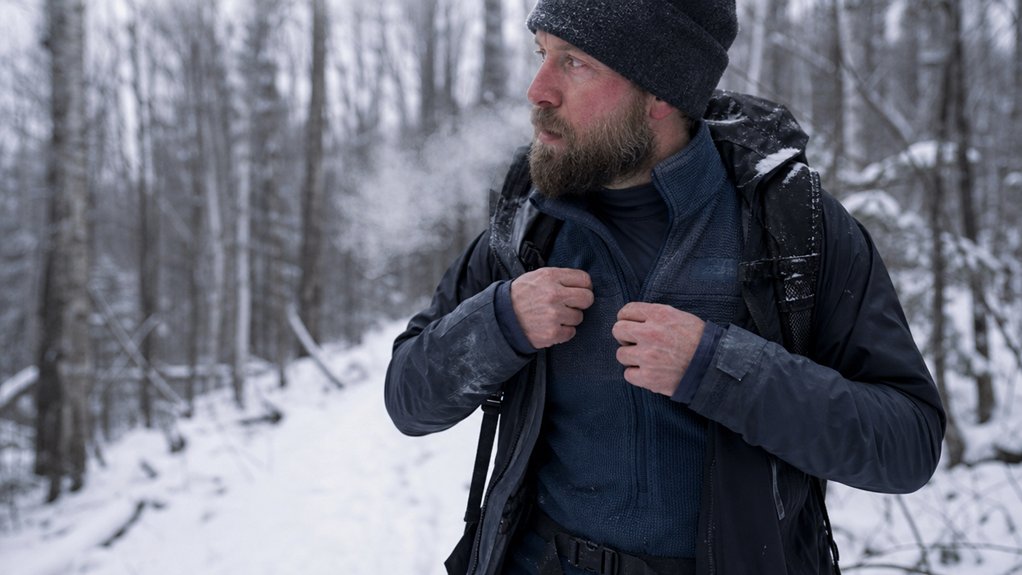
Before you overheat, vent.
When you stop, add layers immediately.
Always pack extra layers in case conditions turn wet or windy during your hike.
A merino wool or synthetic base layer that wicks moisture away from skin is the most load-bearing piece in a winter layering system. If you don’t have one yet, there are plenty of options on Amazon.
Simple adjustments keep you moving comfortably.
Start your hike feeling slightly cold, since your body generates heat quickly and starting too warm leads to dampness and increased cold susceptibility. Properly managing moisture and perspiration is critical to maintaining core body temperature in winter conditions.
Even if you’ve nailed your layering system, winter hiking can go sideways fast when you don’t know what’s waiting on the trail. For solid trail safety, check conditions within 24-48 hours of departure; things change that quickly.
Since snow significantly slows your pace, you should also start with shorter hikes to gauge your fitness and comfort level before committing to longer routes, a useful mindset for anyone returning to hiking after a long break.
Understanding basic hiking fundamentals will help you build confidence as you progress to more challenging winter terrain.
Your pre-hike checklist:
For reliable navigation tips, mark shelter locations and turnaround deadlines on your route beforehand. Be aware that cell phone coverage is unreliable throughout many national parks, so you cannot depend on your phone for emergency communication or real-time route guidance.
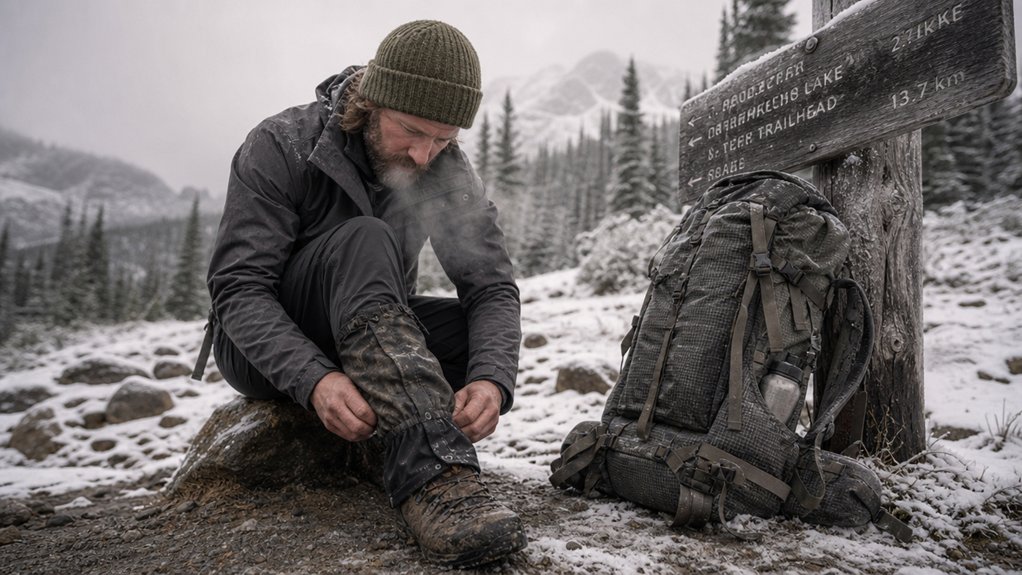
Once temperatures hold below -5°C for several days, Canadian trails transform into slick, packed-down ice rinks that’ll humble even experienced hikers. Your traction gear matters more than your pride.
Microspikes benefits include lightweight grip, just 200-300 grams per pair, with 12-14 steel points biting into packed snow.
Strap-on microspikes that fit over standard hiking boots are the most practical starting point for groomed trail conditions in Ontario and Quebec. If you need to pick up a pair before your trip, you can compare options on Amazon.
However, microspikes are ineffective in deep, unconsolidated snow, where snowshoes distribute weight to keep you from postholing through the surface.
On groomed trails in Ontario and Quebec’s provincial parks, microspikes are often sufficient; on backcountry routes in the Rockies or Laurentians, snowshoes or crampons are typically the safer choice.
For steeper terrain, you’ll want to understand crampon types: strap-on models fit hiking boots, while clip-ons suit mountaineering footwear.
Heavy-duty options like the Hillsound Trail Crampon use carbon steel spikes and a secure rubber strap-and-Velcro harness system for aggressive traction on icy winter trails.
Proper fitting prevents ankle strain and foot fatigue on longer trails.
Carry emergency options too: spare straps and replacement points add negligible weight but save entire trips when gear fails unexpectedly.
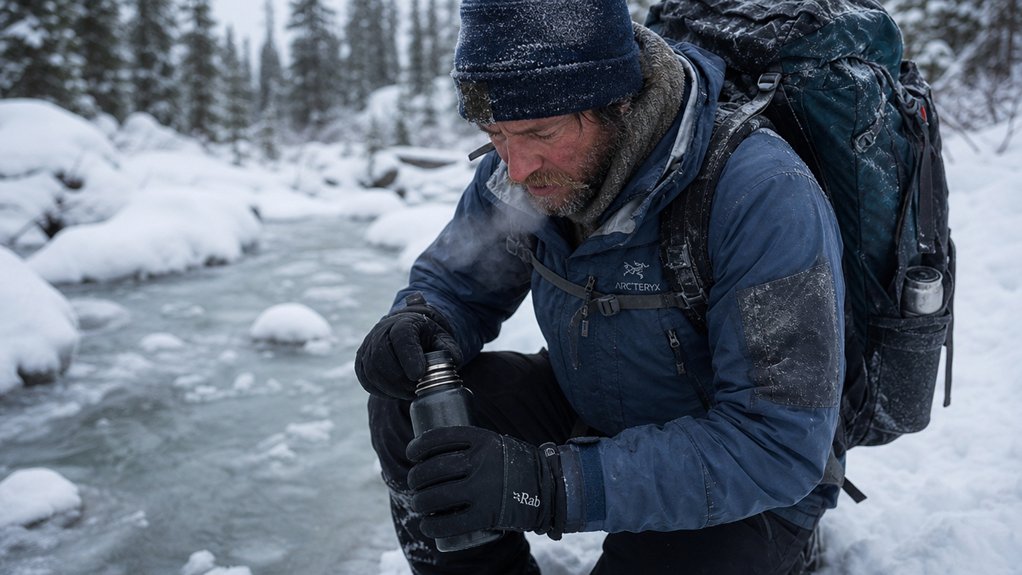
Keep your liquids from freezing:
If you use a hydration reservoir with a drinking tube, blow air back into the hose after each sip to push water into the reservoir and prevent the tube from freezing.
Aim to drink 475–590 ml (16–20 oz) per hour to maintain proper hydration even when you don’t feel thirsty in the cold.
Your freedom on the trail depends on staying fueled. Additionally, be aware of bear awareness in your hiking area, as this knowledge is essential for safe winter trail navigation in Canada.
Staying hydrated keeps your body running, but water alone won’t protect you if your core temperature starts dropping.
Watch for these early warning signs:
These aren’t minor annoyances, they’re your body sounding the alarm.
In much of Canada, where temperatures drop below -20°C (about -4°F) through the winter months in many provinces, the margin between manageable cold and dangerous cold is narrower than it looks on a forecast.
When Your Brain Gets Cold
Cognitive decline sneaks up fast.
You’ll notice slurred speech, confusion, and poor decisions before you realize something’s wrong.
If a hiking partner starts acting irritable or can’t follow simple directions, that’s hypothermia talking. In severe cases, a person may become completely unconscious, making immediate emergency response critical. Having a right hiking companion who can recognize these changes and act quickly could be lifesaving.
Here’s the counterintuitive part: when shivering *stops*, things are getting worse, not better. Shivering typically stops once core temperature drops below 32°C (about 90°F), signaling a progression into moderate hypothermia.
Winter hiking in Canada rewards the hiker who checks the forecast, tests the gear at home first, and picks a route that matches their actual fitness level, not last summer’s. Those three decisions cover most of what goes wrong.
The cold is manageable. Hypothermia is predictable and preventable. Trail conditions are checkable 24 hours in advance. None of this is as uncertain as it looks from inside a warm house.
Pick a short route. Go in good weather. Build from there.